Adding Content
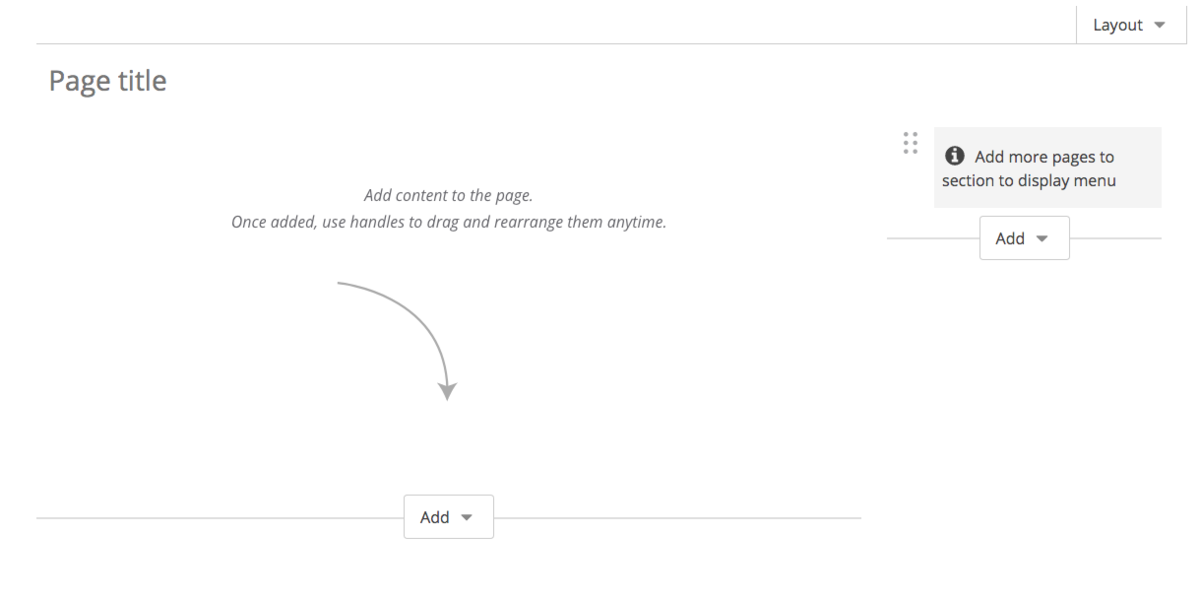
This is how a blank page looks like. It is the type of page to add your content to.
How to Add Content
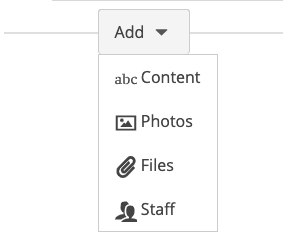
You can start working on your page by typing a title and selecting the type of content you want to add.
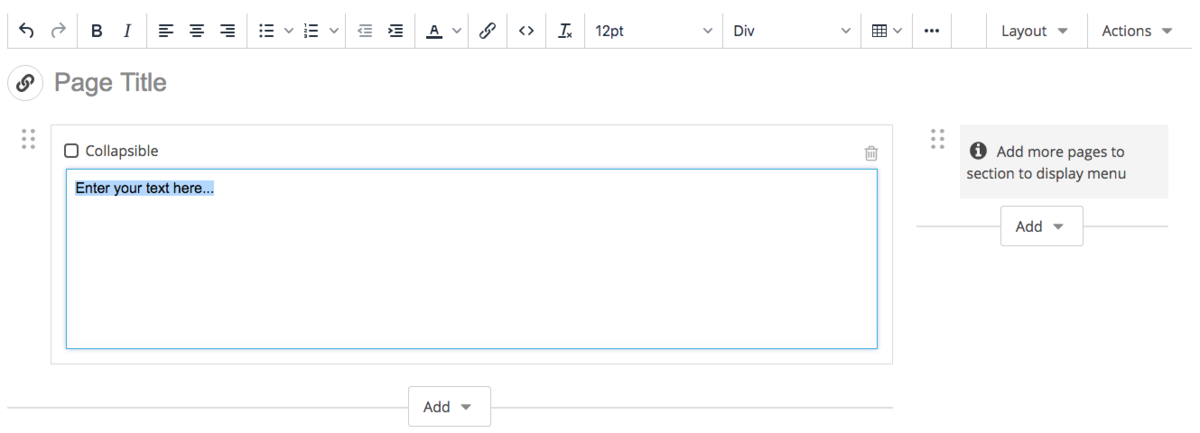
If you decide to add content, type the information and style it as you like.
How to Add Images
Our school websites would require anyone who adds an image to type an "ALT" text. Also called "alt tags" and "alt descriptions," alt text is the written copy that appears in place of an image on a webpage if the image fails to load on a user's screen. This text helps screen-reading tools describe images to visually impaired readers and allows search engines to better crawl and rank our websites. So, please be descriptive and specific with your alt text.
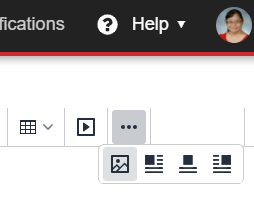
There are two ways to add images. One is simply inserting pictures like you would on any word processor you're familiar with. If you click on the three dots, you will see the options on how you can insert an image.
 Another way of adding images is by creating a gallery. This is useful if you have more than one images and if you want the viewers to have the ability to zoom an image.
In order to do this, select "Photos" on the content options bar and upload the images.

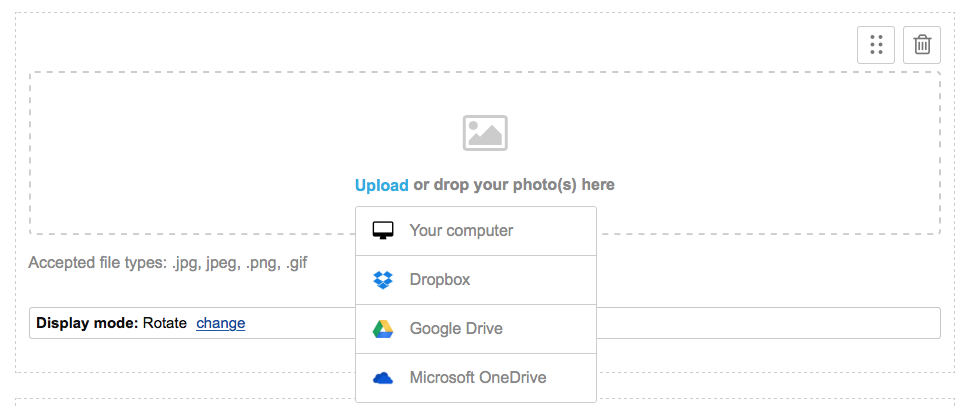
Change the display mode by tapping "change" next to the currently selected mode. You have the option to write a caption. You can also easily change the order of your images or remove a photo.
How to Add a File
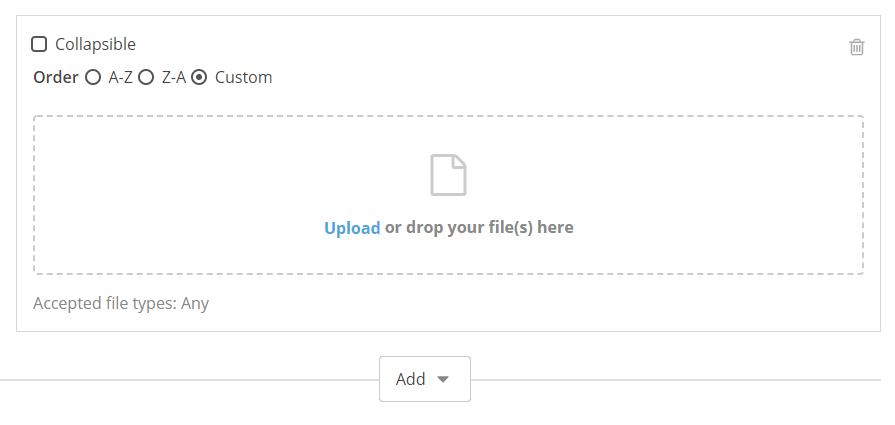
To add a file to your page, go to the content options bar and select the "Files" icon. Drag and drop your file onto the page.

REMEMBER!
Don't forget to publish or save your page as a draft. (Bottom of Page)

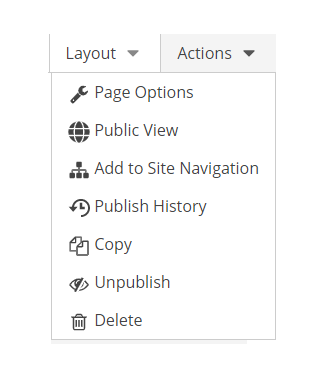
You may unpublish your page by tapping "Actions" menu on the top right and choose "Unpublish"
